

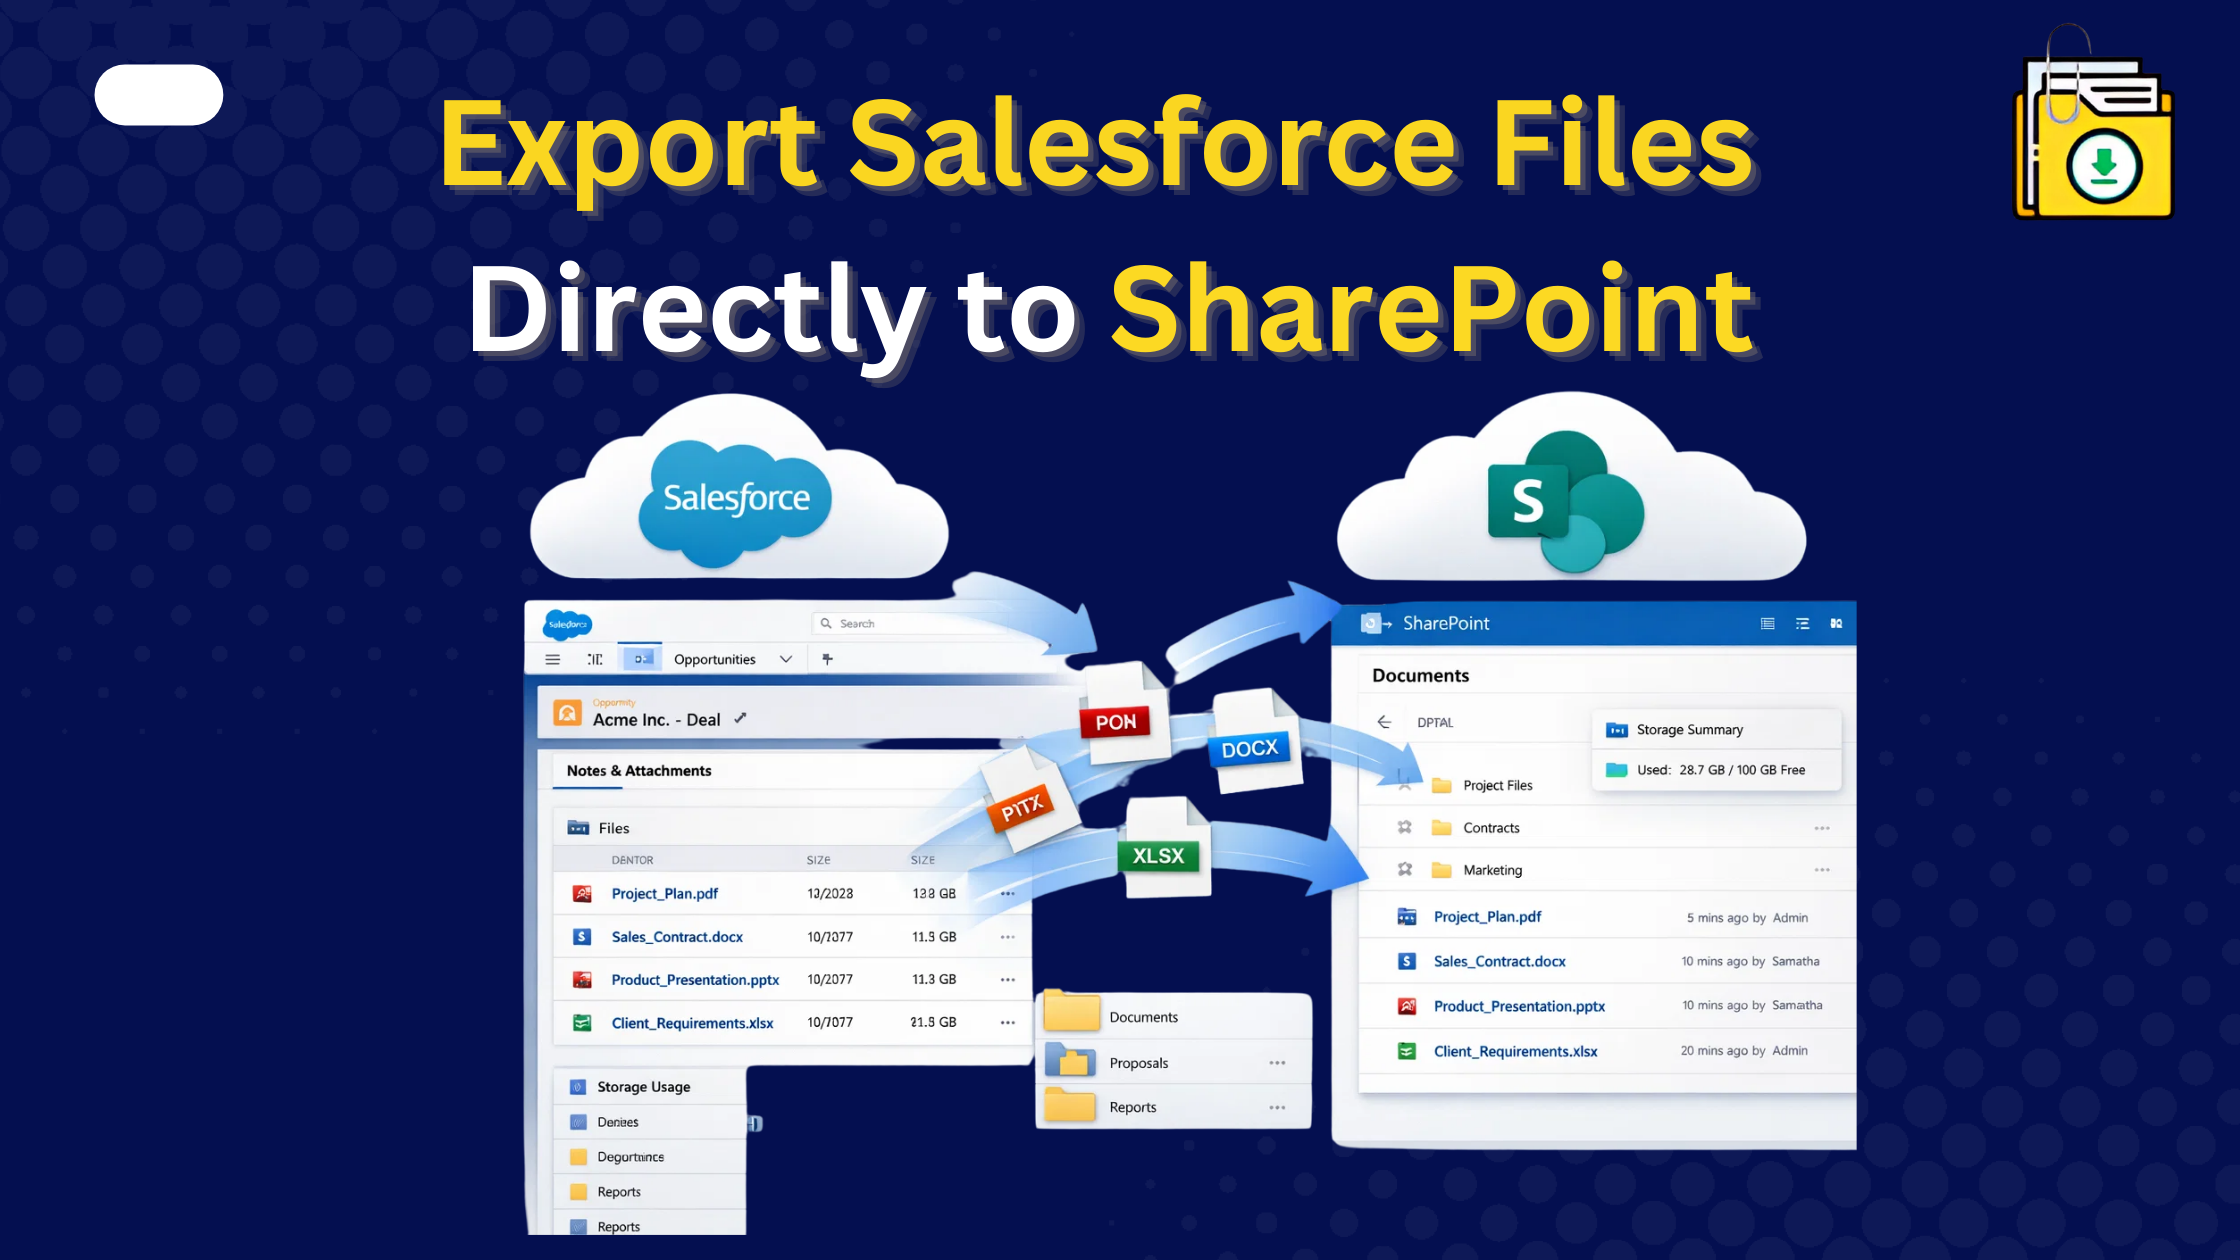


If you want to export Salesforce file to export SharePoint or external storage, there is no direct native button available in Salesforce. While Salesforce Files Connect allows you to view SharePoint files inside Salesforce, it does not automatically migrate or move your existing attachments. To move files automatically while preserving folder structures, the most effective 2026 method is using a native AppExchange tool like Files Downloader, which now supports bulk uploads to SharePoint libraries, bypassing manual download/upload cycles.
Thank you for reading this post, don't forget to subscribe!
As we move through 2026, the gap between Salesforce storage costs and Microsoft 365 storage is widening. Salesforce is built for high-speed data, while SharePoint is built for document management.
If your Salesforce file storage limit is exceeded, the most logical move is to shift your heavy attachments (PDFs, Videos, Images) to SharePoint. But how do you do it without spending weeks on manual uploads?
1. Best Methods to Export Salesforce Files to SharePoint
To truly “move” your files and reclaim your storage, you need a tool that handles the Export -> Rename -> Organize -> Upload loop in one go.
Files Downloader has introduced a direct SharePoint Integration feature specifically for 2026 migrations.
Why Admins are switching to this method:
- Folder Hierarchy: It automatically creates folders in SharePoint based on your Salesforce records (e.g.,
Account Name > Case Number > File.pdf). - Mass Migration: You can bulk export files from List Views and send them directly to a SharePoint Document Library.
- Security: Because it is a 100% Native AppExchange tool, your files stay within your secured cloud environments no middle-man servers involved.
2. Salesforce Files Connect
Salesforce offers a feature called Files Connect.
- The Good: It creates a “bridge” that lets your users see SharePoint folders directly on a Salesforce record.
- The Bad: It is notoriously difficult to set up (requiring Azure AD authentication and Auth. Providers) and it does not move your data. It only lets you “see” SharePoint from Salesforce.
- The Verdict: Great for new files, but useless for mass exporting 10,000+ existing files to clear up space.
3. The “Power Automate” Method (Semi-Manual)
You can use Microsoft Power Automate (formerly Flow) to create a connection between the two systems.
- How it works: You set up a trigger so that when a new file is added to Salesforce, it is copied to SharePoint.
- The Catch: This doesn’t help with your existing 6,000+ files. Furthermore, mapping Salesforce original filenames through Power Automate often results in errors or “Unnamed” documents if the metadata isn’t perfectly aligned.
Comparison: How Should You Move Your Files?
| Feature | Files Connect | Power Automate | Files Downloader |
| Moves Existing Files? | No | Partially (Complex) | Yes (Bulk Upload) |
| Preserves Filenames? | N/A | Often fails | Yes (Automatic) |
| Auto-Folder Creation? | No | Manual Setup | Yes (By Record Name) |
| Setup Time | 4-8 Hours | 2-4 Hours | 15 Minutes |
Step-by-Step: Moving Your First 1,000 Files
If you are ready to stop paying for expensive Salesforce storage overages, follow this simple path:
- Filter your Data: Use a SOQL Query to find files attached to “Closed” Opportunities or old Cases.
- Authenticate SharePoint: Link your SharePoint site inside the Files Downloader settings.
- Run the Export: Select “Upload to SharePoint”
- Verify & Delete: Once the files are in SharePoint, use the provided CSV log to safely delete the originals from Salesforce and clear your storage.
Conclusion
Moving files to SharePoint shouldn’t require a degree in API architecture. Whether you are migrating files for a nonprofit or managing a global enterprise Org, your goal is to make data accessible and affordable.
Stop fighting the 250MB limit. Bridge the gap between Salesforce and SharePoint today. Start your Free Trial of Files Downloader and see how easy bulk SharePoint uploads can be.
This method makes it easy to export Salesforce file to export SharePoint storage without manual work or data loss.